In summary:
- Transform your bathroom by focusing on physiological wellness, not just decorative accents.
- Engineer your water systems with contrast showers and rainfall heads for therapeutic benefits.
- Control your environment’s air quality with strategic ventilation and mold-resistant materials.
- Design a layered, dimmable lighting system to support your natural sleep cycle.
- Create a sealed “thermal cocoon” by eliminating hidden drafts for ultimate comfort.
The dream of a private wellness retreat often conjures images of expensive marble, designer fixtures, and a budget that spirals out of control. Many homeowners believe creating a spa-like atmosphere is a matter of aesthetics—adding scented candles, plush towels, and a few potted plants. While these touches are pleasant, they only scratch the surface of what makes a spa experience genuinely restorative. They are decorative layers on a system that hasn’t fundamentally changed.
But what if the true secret to a thermal spa wasn’t about what you see, but what you feel? The key lies not in expensive materials, but in smart, targeted thermal and sensory engineering. It’s about understanding how to manipulate your bathroom’s core systems—water, air, and light—to trigger specific, positive physiological responses in your body. This approach moves beyond simple decoration to actively enhance your well-being, from boosting your immune system to improving your sleep quality.
This guide will walk you through turning a standard bathroom into a functional thermal spa for under $2,000. We will deconstruct the science behind the spa experience and provide practical, budget-conscious solutions to engineer water for hydrotherapy, manage air for a perfect thermal cocoon, and layer light for hormonal balance. Forget the superficial upgrades; it’s time to build a space that works for your body.
To navigate this transformation, this article breaks down the essential pillars of a true home spa. Explore the detailed sections below to master each element, from the science of water temperature to the art of anxiety-reducing design.
Summary: The Homeowner’s Guide to Building a Functional Thermal Spa
- Why Contrast Showers Boost Immune Function in Winter?
- How to Install a Rainfall Showerhead Without Changing the Plumbing Behind the Wall?
- Teak vs. Bamboo: Which Wood Resists Mold Better in a Windowless Bathroom?
- The Ventilation Mistake That Peels Paint off Your Spa Bathroom Ceiling
- How to Layer Dimmable Lighting to Create a Melatonin-Friendly Bath Routine?
- Why You Feel a Draft Even With the Windows Closed?
- Thermogenics vs. Cold Exposure: Which Safely Activates Brown Fat?
- How to Design a Sensory Sanctuary That Reduces Anxiety Levels After a Long Workday?
Why Contrast Showers Boost Immune Function in Winter?
The concept of a “thermal spa” begins with its most critical element: water temperature. Contrast hydrotherapy, the practice of alternating between hot and cold water, is more than just an invigorating wake-up call; it’s a powerful tool for home-based hydrotherapy that can directly impact your physiological health. The rapid change in temperature acts as a workout for your circulatory system. Hot water causes vasodilation, widening blood vessels and increasing blood flow to the skin, while cold water triggers vasoconstriction, constricting vessels and sending blood back toward the internal organs.
This “pumping” action improves overall circulation and, more importantly, stimulates the lymphatic system. Unlike the circulatory system, the lymphatic system has no central pump and relies on muscle movement to transport lymph—a fluid containing infection-fighting white blood cells. By forcing this fluid to circulate more efficiently, contrast showers can help flush out toxins and distribute immune cells throughout the body more effectively. This is particularly beneficial during winter months when we tend to be more sedentary and susceptible to illness.
Incorporating this practice doesn’t require any special equipment, only discipline. The key is consistency and following a structured protocol to maximize the benefits without shocking your system. A routine practiced several times a week can become a cornerstone of your wellness regimen, turning your daily shower into a proactive immune-boosting treatment.
3-Step Contrast Shower Protocol for Maximum Benefit
- Start with 3-4 minutes of hot water that is as warm as you can comfortably tolerate.
- Switch to cold water (ideally below 60°F/15°C) for exactly 1 minute.
- Repeat this hot-cold cycle 3 times, always making sure to end with the cold-water phase.
- Practice this routine 3-4 times per week for optimal immune benefits.
- For a more intense experience, use the “Poor Man’s Plunge” by filling a large storage tub with cold water for a post-shower immersion.
How to Install a Rainfall Showerhead Without Changing the Plumbing Behind the Wall?
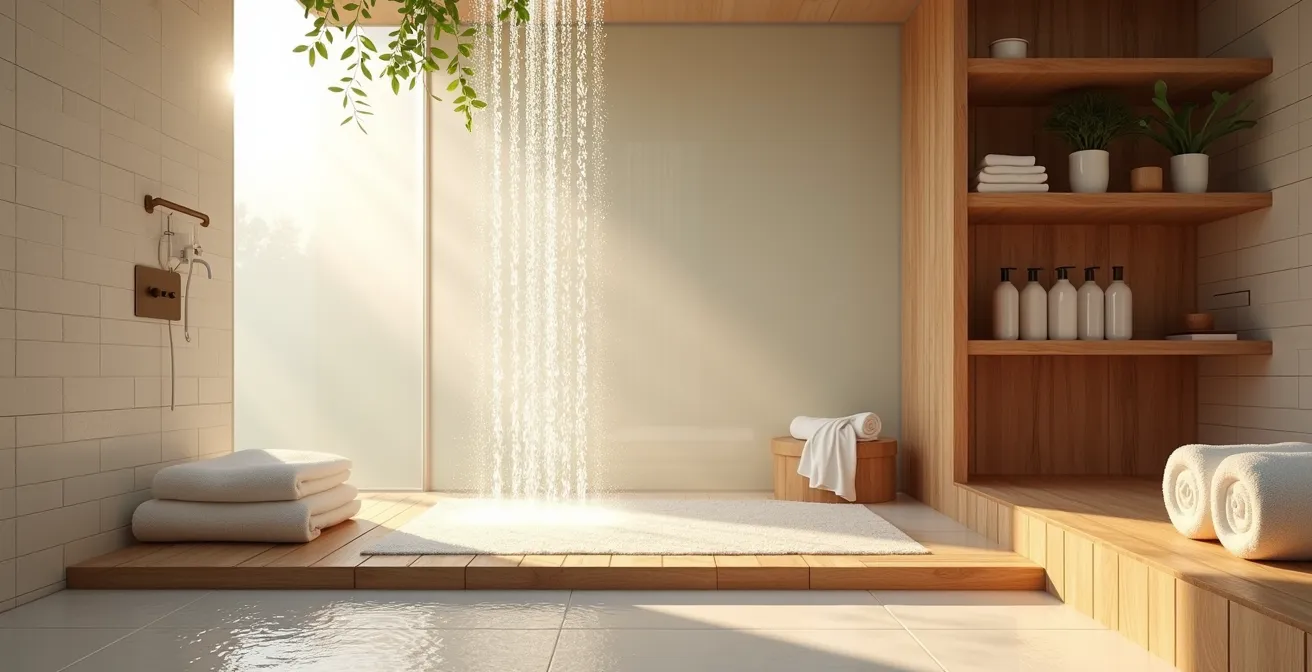
While contrast showers focus on the therapeutic benefits of temperature, the sensory experience of a spa often comes from the gentle, enveloping flow of water. A rainfall showerhead is a hallmark of luxury bathrooms, but many homeowners are deterred by the perceived cost and complexity of installation, assuming it requires rerouting plumbing. Fortunately, a simple and affordable hardware solution makes this upgrade accessible to almost anyone: the S-shaped shower arm extension.
This curved piece of hardware attaches directly to the existing shower arm outlet on your wall and raises the height and position of the showerhead, allowing you to mount a large-diameter rainfall head directly overhead. This clever piece of plumbing requires no demolition, no tile work, and no professional help. The entire installation can typically be done in minutes with just a wrench and some plumber’s tape. This single, low-cost change dramatically alters the feel of your shower, transforming it from a functional spray into a calming cascade.
Case Study: 10-Minute Spa Shower Upgrade for Under $50
Interior designers transformed a standard bathroom into a spa-like retreat using an S-shaped extension arm and a new rainfall showerhead. The entire installation required no modifications to the wall or existing plumbing. The upgrade took just 10 minutes to complete and cost under $50 for the extension arm hardware, instantly elevating the shower experience and aesthetic of the room.
Before you purchase a new head, however, it’s crucial to ensure your home’s water pressure is sufficient. Rainfall showerheads have many more nozzles than standard heads and require a certain flow rate to provide that signature “drenching” effect. A weak flow will result in a disappointing drizzle. Performing a quick test will tell you if your system is compatible and help you choose the right model for a satisfying, spa-quality shower.

Teak vs. Bamboo: Which Wood Resists Mold Better in a Windowless Bathroom?
A true spa experience engages all the senses, including touch. Introducing natural materials is a key strategy to break up the coldness of tile and porcelain. Wood accents, like a shower mat or bench, add warmth and a connection to nature. However, in a high-humidity, often windowless bathroom, the wrong choice of wood can quickly lead to mold, mildew, and decay. The two most popular options, teak and bamboo, are often marketed as similar, but their performance in a wet environment is vastly different.
As interior designer Hayley McAteer of Cushee notes, “Natural materials like teak, bamboo and stone instantly give your bathroom a calming spa vibe.” She adds that teak’s natural properties give it a distinct advantage. Teak is a tropical hardwood with a very high natural oil content (up to 20%). These oils are intrinsically water-repellent and act as a powerful natural defense against mold and rot. Bamboo, on the other hand, is technically a grass. It has no natural oils and relies entirely on a topical surface sealant for protection. Once that sealant wears away or is compromised, the porous bamboo fibers will quickly absorb moisture, making it a breeding ground for mold.
While teak has a higher upfront cost, its exceptional durability and low maintenance requirements often make it the more economical choice in the long run. A bamboo mat may need to be replaced every few years, while a teak mat can last for decades with minimal care. For a windowless bathroom where humidity is a constant battle, teak is the superior investment in both longevity and hygiene.
| Factor | Teak Wood | Bamboo |
|---|---|---|
| Natural Oil Content | High (17-20% oil) | None (grass, not wood) |
| Mold Resistance | Excellent (intrinsic) | Good (surface treatment) |
| Lifespan in Bathroom | 25+ years | 5-10 years |
| Upfront Cost | $80-120 per mat | $25-40 per mat |
| Maintenance | Annual oiling | Monthly sealing |
| Total 10-Year Cost | $150 (including oil) | $180 (2-3 replacements) |
The Ventilation Mistake That Peels Paint off Your Spa Bathroom Ceiling
You can have the most beautiful shower and the finest materials, but if your bathroom’s air is thick with humidity, you don’t have a spa—you have a swamp. Proper ventilation is the single most important, and most frequently overlooked, aspect of creating a healthy and lasting spa bathroom. Inadequate ventilation is the primary culprit behind peeling paint, warped wood, and the growth of mold and mildew. The common mistake isn’t a lack of a fan, but an improperly used or undersized fan.
Many people run their exhaust fan only during their shower and turn it off immediately after. This is not nearly long enough. It takes a significant amount of time to vent the dense, humid air created by a hot shower. The best practice is to let the fan run for at least 20-30 minutes after you’ve turned off the water. The easiest way to enforce this is by replacing the standard wall switch with an inexpensive timer switch, a sub-$20 upgrade that automates proper ventilation. Furthermore, the fan itself must be powerful enough for the space. A simple “toilet paper test”—holding a square of toilet paper up to the grille to see if the suction holds it—can quickly reveal if your fan is working effectively. If it fails, it’s time for a replacement.
Investing in proper ventilation isn’t just about comfort; it’s about protecting the longevity of your entire bathroom. It’s a crucial investment, as new research reveals that 64% of homeowners underestimate bathroom renovation costs, many of which stem from preventable moisture damage. Calculating the correct fan power, measured in CFM (Cubic Feet per Minute), ensures you are moving enough air to keep the space dry and healthy.
How to Layer Dimmable Lighting to Create a Melatonin-Friendly Bath Routine?
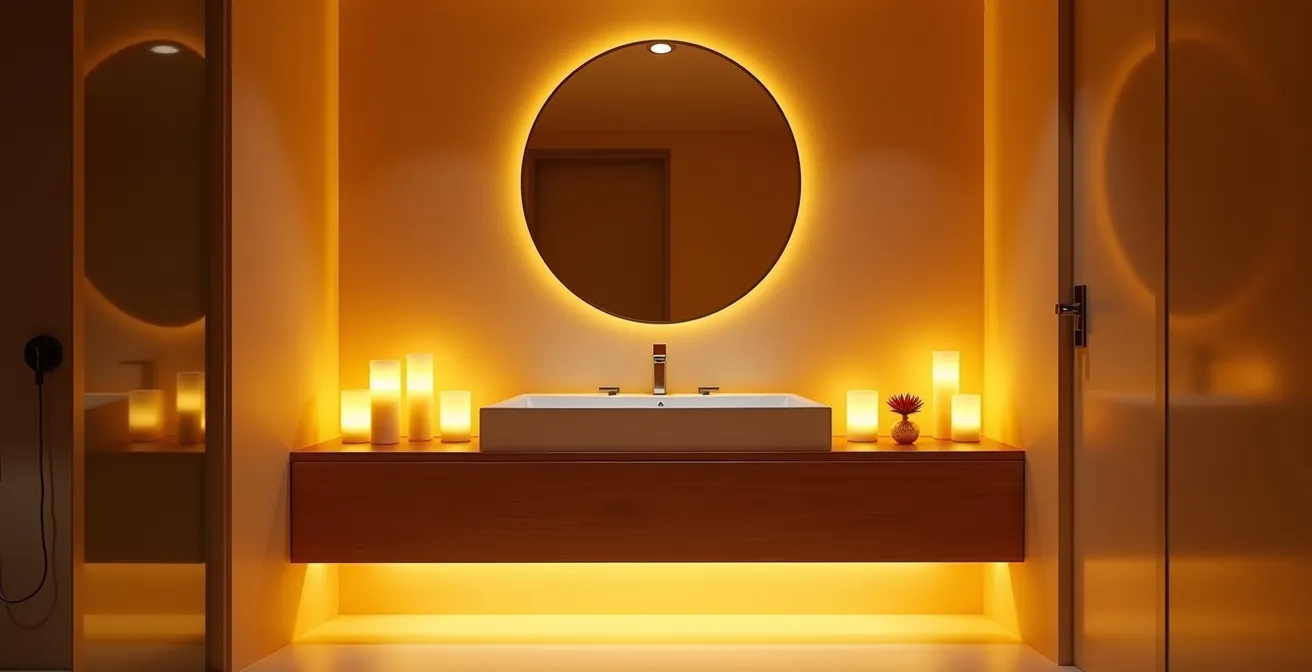
Lighting is the final pillar of sensory architecture, capable of transforming a space’s mood and influencing your body’s internal clock. The harsh, single overhead light found in most standard bathrooms is functional for morning routines but disastrous for evening relaxation. It floods the space with blue-spectrum light, which signals to your brain that it’s daytime, suppressing the production of melatonin, the hormone that regulates sleep. Creating a spa-like atmosphere requires a layered, dimmable lighting strategy that adapts to the time of day.
As Jessica French, Co-Founder of Oakwell Beer Spa, explains, “Soft, warm lighting in your bathroom can make you feel like you’ve stepped into a tranquil spa. Meanwhile, harsh, cool lighting can feel sterile and uninviting.” The solution is to design a three-layer system:
- Task Lighting: Bright, cool-white light (around 5000K) placed directly over the vanity, perfect for tasks like applying makeup or shaving in the morning.
- Ambient Lighting: A main overhead fixture with a warm-white bulb (around 2700K) connected to a dimmer switch. This provides general, soft illumination for the whole room.
- Accent Lighting: This is the key to the spa mood. Use low-intensity, ultra-warm light sources like waterproof LED strips under a vanity or shelf, or even smart bulbs set to an amber or red color (around 1800K).
This layered approach allows you to transition your bathroom’s environment throughout the day. You can use the bright task lighting in the morning and then, in the evening, turn it off and rely solely on the dimmed ambient and warm accent lights. This creates a “sunset” effect, signaling to your body that it’s time to wind down and begin producing melatonin. This melatonin-friendly routine turns your evening bath or shower into a preparatory step for deep, restorative sleep.
Why You Feel a Draft Even With the Windows Closed?
You’ve set the water temperature, dimmed the lights, and stepped into what should be a warm, steamy oasis—only to feel a persistent, chilly draft on your skin. This common problem shatters the spa illusion and is a major source of energy loss. These drafts rarely come from windows or doors. Instead, they sneak in through dozens of small, unsealed gaps and penetrations in your walls, floor, and ceiling. Creating a true “thermal cocoon” requires a systematic approach to finding and sealing these invisible air leaks.
Common culprits include the gaps around electrical outlets and light switches, the cutout for the exhaust fan, and the penetrations where plumbing pipes enter the room from under the sink or behind the toilet. While each leak is small, their cumulative effect is significant, constantly pulling cold air into your warm, humid space. Fortunately, diagnosing and fixing these drafts is one of the cheapest and most effective DIY projects you can undertake.
A simple but highly effective diagnostic tool is an incense stick. The visible trail of smoke will be visibly disturbed by any air movement, allowing you to pinpoint the exact source of a draft. Once identified, these gaps can be easily sealed with clear, paintable caulk or inexpensive foam gaskets that fit behind outlet and switch plates. This small effort makes a massive difference in comfort, transforming your bathroom into a truly sealed and cozy sanctuary.
Your 5-Step Draft-Hunting Checklist
- Light the tool: Light an incense stick or thin candle to create a visible smoke trail for detection.
- Check electrical points: Hold the smoke source about 2 inches from all electrical outlets and light switches, watching for any smoke movement that indicates a draft.
- Inspect plumbing penetrations: Carefully test the areas around the pipes under the sink and behind the toilet base.
- Examine fixtures: Check the perimeter of the exhaust fan grille and any ceiling-mounted light fixtures.
- Mark and seal: Use small pieces of painter’s tape to mark every draft source you find, then go back and seal them systematically with caulk or foam gaskets.
Thermogenics vs. Cold Exposure: Which Safely Activates Brown Fat?
Beyond the immune-boosting effects of contrast showers, manipulating temperature can tap into a deeper metabolic process: the activation of Brown Adipose Tissue (BAT), or “brown fat.” Unlike regular white fat which stores energy, brown fat’s primary function is to burn energy to produce heat, a process called thermogenesis. Activating this metabolically active tissue is a key area of wellness research, and both cold exposure and certain “thermogenic” compounds can trigger it.
Cold exposure is the most direct and potent activator of brown fat. When your body is exposed to cold, it releases norepinephrine to signal BAT to start generating heat. In fact, research published in PLOS ONE demonstrates that cold exposure triggers a significant norepinephrine increase within minutes, a key neurotransmitter for focus and mood. However, full-on cold plunges can be intense and are not suitable for everyone. A safer and more synergistic approach for beginners combines mild internal thermogenics with gentle cold exposure.
Consuming thermogenic substances like ginger or cinnamon before a bath can gently “prime” your body’s heating mechanisms. Following a warm soak with a gradual cooling of the water, ending in a cool (not frigid) rinse, allows your body to adapt without the shock of an ice bath. This safety-first protocol provides a gentle stimulus to activate brown fat, offering some of the metabolic benefits in a more sustainable and comfortable way. This method allows you to use your bathroom as a tool for metabolic health, adding another layer of function to your home spa.
Key Takeaways
- True spa design is functional engineering, not just decoration. Focus on how water, air, and light affect your body.
- Small, strategic investments like a timer switch for your fan or an S-arm for your shower yield massive returns in comfort and value.
- Your bathroom’s environment has a direct impact on your health, from your immune system to your sleep cycle.
How to Design a Sensory Sanctuary That Reduces Anxiety Levels After a Long Workday?
We’ve engineered the water, air, and light, creating a technically perfect thermal environment. The final step is to weave these elements into a cohesive ritual that transforms the space from a room into a sanctuary. The ultimate goal of a home spa is to reduce stress and anxiety. This is achieved by creating “sensory anchors”—specific, repeatable experiences that signal to your brain that it’s time to transition from a state of stress to one of relaxation.
This isn’t about a complete redesign but about establishing distinct zones and rituals. An effective case study showed that interior designers created anxiety-reducing sanctuaries by using bath mats to define a “transition zone,” using dedicated trays to house ritualistic items (like specific soaps or oils), and leveraging layered lighting to signal the start of an evening routine. Clients who adopted a multi-sensory ritual involving specific scents (eucalyptus), curated sounds (calm playlists), and tactile elements (plush waffle-knit towels) reported feeling immediate stress relief upon entering their bathroom.
The power lies in consistency. By repeating the same sensory cues each evening—the same warm light, the same calming scent, the same soft texture—you create a powerful psychological association. Your brain learns that this specific combination of sensations means it’s safe to let go of the day’s tension. As designer Adriana Rodriguez puts it, “A DIY spa bathroom isn’t about what you own – it’s about how it makes you feel. Scent isn’t just a nice touch – it’s a shortcut to a different state of mind.” Your bathroom becomes a reliable refuge, a space designed not just for hygiene, but for mental and emotional restoration.
Your journey to a home wellness sanctuary doesn’t require a full demolition. Start by engineering one element—water, air, or light—and build your thermal spa one smart, budget-conscious upgrade at a time.