The key to slashing energy bills isn’t just plugging drafts, but a strategic, sequenced upgrade plan that treats your house as a single, interconnected system.
- Address the building envelope (insulation and air sealing) first, as this offers the highest return on investment.
- Only after improving the envelope should you “right-size” your heating system and consider renewables like solar.
Recommendation: Start with a simple DIY energy audit to identify your home’s specific thermal weak points before spending any money on upgrades.
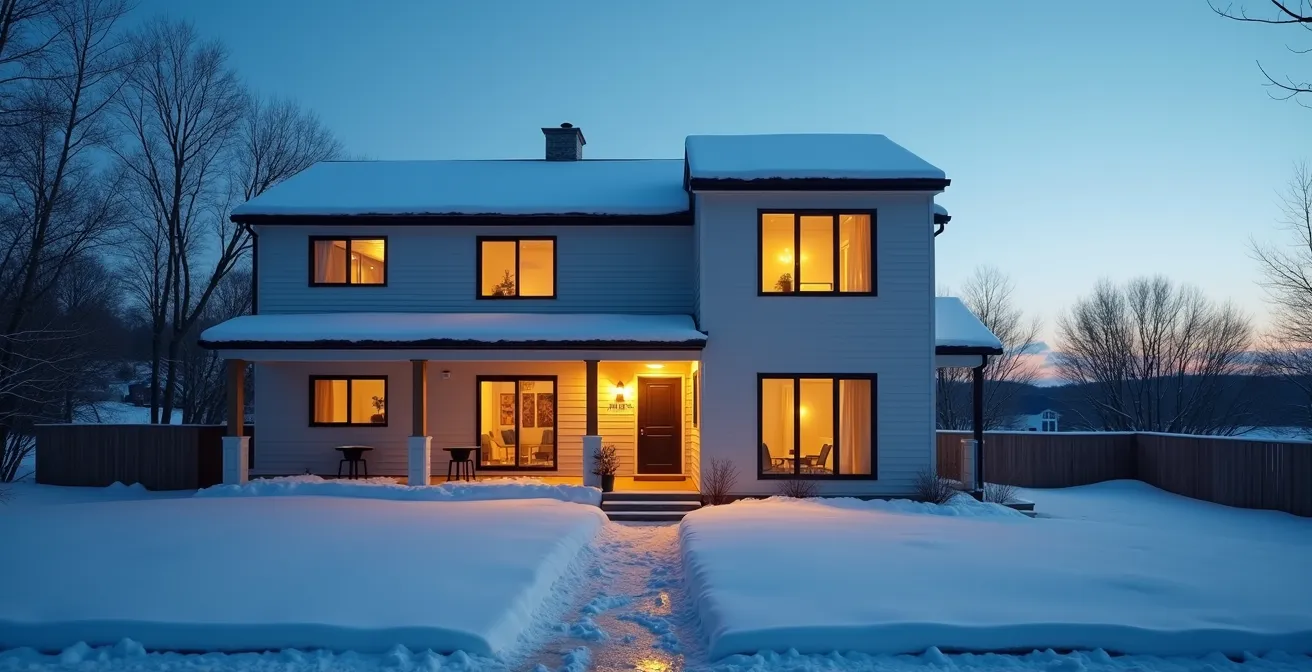
As winter approaches, the familiar dread of rising heating bills sets in. The common advice is a checklist of small fixes: caulk your windows, slide a draft stopper under the door, and pull the curtains shut at night. While these actions aren’t useless, they often feel like putting a band-aid on a much larger wound. You perform these small rituals, yet the furnace still kicks on constantly and certain rooms remain stubbornly cold.
The reason these fixes fall short is that they fail to address the fundamental physics of heat loss. From an engineering perspective, a house is a system. Its ability to retain heat depends on the integrity of its building envelope—the complete barrier between the conditioned indoor space and the unconditioned outdoors. Most homes don’t just have a few minor leaks; they have systemic flaws in this envelope, such as inadequate insulation, hidden air gaps, and thermal bridges that continuously siphon warmth out of your living space.
This guide abandons the random checklist approach. Instead, we will adopt a systematic, envelope-first strategy to retrofitting your home for energy efficiency. The secret to a major reduction in heat loss isn’t just *what* you do, but the *order* in which you do it. By focusing on the largest sources of heat loss first, you not only achieve greater savings but also make every subsequent investment—from a new furnace to solar panels—more effective and less expensive.
To achieve this, we will walk through the process like a building engineer would. We’ll identify the hidden culprits of heat loss, detail the correct sequence of upgrades, and explore how these foundational improvements create a domino effect of savings across your entire home energy system. Follow these steps, and you can create a home that is not only more affordable to heat but also significantly more comfortable.
Summary: Your Strategic Guide to a Warmer, Cheaper Home
- Why You Feel a Draft Even With the Windows Closed?
- How to Insulate Your Attic Hatch Without Hiring a Contractor?
- Heat Pump vs. Gas Furnace: Which Is Cheaper to Run in a Cold Climate?
- The Insulation Mistake That Causes Mold Growth in Your Walls
- In Which Order Should You Upgrade Windows, Insulation, and Heating?
- When to Replace Working Appliances: The Energy Efficiency Tipping Point
- Why “Time-of-Use” Tariffs Make Batteries Profitable Even Without Blackouts?
- Solar Battery Storage vs. Grid Tie: Which Calculation Makes Sense for Suburban Homes?
Why You Feel a Draft Even With the Windows Closed?
That persistent chill you feel in a room, even when the windows are tightly shut, is often not a draft in the traditional sense. It’s the result of two distinct thermal phenomena: air infiltration and conduction through thermal bridges. While you might blame a leaky window seal, the true culprits are often invisible and far more significant. Your walls, for instance, are a primary source of energy waste; home energy efficiency data shows that up to 35% of all heat loss in a home occurs through the walls.
Air infiltration happens when cold outside air physically enters the house through unintentional gaps in the building envelope. These are not just around windows and doors, but also through electrical outlets, recessed lighting fixtures, and the attic hatch. The pressure difference between the warm, rising air inside your home (the stack effect) and the cold, dense air outside actively pulls cold air in through these lower-level gaps.
Thermal bridging, on the other hand, is about heat transfer through solid materials. Wood studs in your walls, concrete slabs, and uninsulated window frames are much less resistant to heat flow than the insulation around them. These materials act like highways for heat to escape your home. You feel this as a “draft” because the cold interior surface of the wall cools the air next to it, creating a convection current of cold air that circulates into the room. Your body perceives this moving cold air as a draft, even though no new air has entered the space.
Identifying these hidden leaks is the first step in any serious retrofit. Simple methods can be surprisingly effective. On a frosty morning, look at your roof; areas without frost are leaking heat. You can also use an incense stick near outlets and window frames on a windy day; if the smoke wavers, you’ve found an air leak. Feeling your walls and floors is another indicator—they should not feel cold or damp to the touch if properly insulated.
How to Insulate Your Attic Hatch Without Hiring a Contractor?
Since hot air rises, the attic is one of the most critical areas for preventing heat loss. A poorly sealed and insulated attic can be responsible for an estimated 25% of a home’s total heat loss. While many homeowners invest in blowing insulation into the attic floor, they often overlook the single largest hole in that thermal barrier: the attic hatch or pull-down stairs. This uninsulated square of plywood acts as a massive thermal bridge, constantly leaking conditioned air into the cold attic space.
Fortunately, insulating your attic hatch is a high-impact DIY project that requires minimal tools and expense. The goal is twofold: to insulate the hatch itself and to air-seal the perimeter to stop drafts. You will need a piece of rigid foam insulation board (like XPS or polyisocyanurate), a measuring tape, a utility knife, construction adhesive, and weatherstripping tape.

As shown in the image, the process involves creating an insulated cover for the hatch. First, measure the top of your attic hatch. Cut two or three layers of rigid foam board to these dimensions. The number of layers depends on the R-value you want to achieve; aim for a total R-value that matches or exceeds the rest of your attic insulation. Glue these layers together with construction adhesive to form a thick, solid block. For a more robust solution, you can build a lightweight box out of the foam board that fits over the entire attic opening. Finally, apply self-adhesive weatherstripping tape around the frame of the attic opening where the hatch rests. This creates an airtight seal when the hatch is closed, stopping all air infiltration.
Heat Pump vs. Gas Furnace: Which Is Cheaper to Run in a Cold Climate?
Choosing a heating system is one of the biggest energy decisions a homeowner can make. According to the U.S. Department of Energy, heating and cooling can account for nearly 50% of yearly energy costs, so the efficiency of your system has a massive impact on your budget. The long-standing debate pits the traditional gas furnace against the modern electric heat pump. For decades, the furnace was the undisputed king in cold climates, but recent technological advances have changed the calculation.
A gas furnace creates heat by burning fuel, with top models reaching up to 98% efficiency, meaning 98% of the fuel’s energy is converted to heat. A heat pump, however, doesn’t create heat; it moves it. In winter, it extracts heat from the outside air (even when it’s cold) and transfers it inside. This process is far more efficient, with modern heat pumps achieving a Coefficient of Performance (COP) of 3 to 4. This means for every unit of electricity they consume, they deliver 3 to 4 units of heat, making them 300-400% efficient. This fundamental difference is why heat pumps can be cheaper to run, even if electricity is more expensive per unit of energy than natural gas.
The table below breaks down the key differences between the two systems.
| Factor | Heat Pump | Gas Furnace |
|---|---|---|
| Energy Efficiency | 300-400% efficient (COP 3-4) | 80-98% efficient |
| Installation Cost | $3,500-$8,000 | $2,500-$6,000 |
| Lifespan | 15-20 years | 15-30 years |
| Maintenance | Annual service required | Annual service required |
| Cooling Capability | Yes (reversible) | No (heating only) |
| Cold Weather Performance | Modern units work to -15°F | Consistent in all temperatures |
While older heat pumps struggled in freezing temperatures, contemporary cold-climate models are effective down to -15°F (-26°C) or even lower. The critical factor, however, is the home’s building envelope. In a poorly insulated, drafty house, a heat pump may struggle to keep up on the coldest days. But in a well-sealed and insulated home, a heat pump can maintain comfortable temperatures far more economically than a gas furnace, while also providing central air conditioning in the summer.
The Insulation Mistake That Causes Mold Growth in Your Walls
In the quest to make homes more energy-efficient, a common and dangerous mistake is focusing solely on stopping heat transfer without managing moisture. Adding insulation or sealing air leaks without understanding vapor permeability can trap moisture inside your wall cavities, leading to structural rot and mold growth. The problem arises when warm, moist indoor air leaks into a cold wall cavity and condenses on a cold surface—a phenomenon known as interstitial condensation.
A properly constructed wall is a system designed to dry out. It typically includes a vapor barrier (like a plastic sheet) on the warm side of the insulation and a weather-resistant barrier on the outside that still allows vapor to escape. When you add insulation without a proper vapor barrier, or if you create a “double vapor barrier” by using impermeable materials on both sides, you prevent the wall from breathing. This is a critical point that many DIY retrofits miss, creating long-term problems for short-term heat savings.
This risk is not just theoretical; it’s a well-documented engineering problem. As experts from Purdue University’s Engineering Department note, the consequences of mismanaged air leakage are severe.
Air leakage from the attic not only increases heat loss but also increases the possibility of moisture condensation in the attic. Condensation could wet insulation and building materials, eventually causing structural damage and reducing the effectiveness of the insulation.
– Purdue University Engineering Department, INPREP- INdiana PREPared Guide
Furthermore, damp building materials are less effective insulators. A wet wall will transmit heat much faster than a dry one, making your home feel colder and negating the benefits of the added insulation. Ironically, a very airtight, well-insulated home can exacerbate condensation issues if ventilation isn’t also addressed, as moist air from cooking, showering, and breathing has no way to escape. The solution is not to avoid insulation, but to approach it as part of a system that includes air sealing, vapor control, and adequate ventilation.
In Which Order Should You Upgrade Windows, Insulation, and Heating?
This is the single most important strategic question in any home energy retrofit. Many homeowners are tempted to start with high-visibility projects like new windows or a high-efficiency furnace, but from an engineering standpoint, this is putting the cart before the horse. The most logical and cost-effective sequence follows the “envelope-first” principle: you must first reduce the home’s heating and cooling load before you upgrade the systems that handle that load.
Think of it like trying to fill a leaky bucket. It makes no sense to install a bigger, more efficient faucet (your HVAC system) when you could first plug the holes (improve your building envelope). A smaller heating and cooling load means you can install a smaller, less expensive HVAC system. Upgrading the furnace or windows first often leads to oversized equipment that runs in short, inefficient cycles in a home that is still drafty and uncomfortable.

The visual pyramid of retrofitting places the most foundational and highest-return-on-investment actions at the base. The correct order of operations is crucial for maximizing your budget and achieving real, measurable energy savings. The following action plan outlines the ideal sequence for upgrades.
Your Retrofit Action Plan: The Correct Order of Upgrades
- Air Sealing: First, seal all the major gaps in your building envelope. Focus on the attic floor, the basement rim joist, and penetrations for wires, pipes, and ducts. This is the cheapest and most impactful step.
- Attic Insulation: After sealing, add insulation to your attic to meet or exceed the recommended R-value for your climate zone. This prevents the significant heat loss that occurs due to the stack effect.
- Wall and Basement Insulation: Once the top and bottom of your house are sealed and insulated, address the walls and foundation. This could involve blowing insulation into wall cavities or adding rigid foam to basement walls.
- Window Upgrades: Only now should you consider replacing windows. A well-insulated wall can have an R-value of 15-20, while a high-performance triple-pane window might be R-5 to R-7. Windows will always be a thermal weak point, so addressing the much larger surface area of walls and ceilings first is more effective.
- HVAC System: With a drastically reduced heating and cooling load, you can now “right-size” and upgrade your heating and cooling system. A Manual J calculation should be performed on the improved envelope to determine the correct size for the new equipment.
When to Replace Working Appliances: The Energy Efficiency Tipping Point
It’s a common dilemma: your old refrigerator, furnace, or water heater still works, but you know a new ENERGY STAR model would be more efficient. Is it worth the cost of replacement? The answer lies in finding the “energy efficiency tipping point,” where the annual savings from a new appliance will quickly outweigh its upfront cost. However, this calculation is only meaningful after you have addressed the building envelope. Installing a new high-efficiency furnace in a leaky house is like buying a hybrid engine for a car with flat tires—the potential savings are squandered by systemic inefficiency.
Once your home is properly air-sealed and insulated, you have drastically lowered its energy demand. Analysis shows that a robust approach to insulation and air sealing can cut energy costs by up to 30-50%. This foundational improvement is what unlocks the true potential of efficient appliances. With a lower heating load, a smaller, more affordable furnace or heat pump is needed. With less heat gain in summer, a smaller AC unit will suffice. The decision to replace an appliance should therefore be the final step in your energy retrofit, not the first.
To determine if a specific appliance has reached its tipping point, use the following criteria:
- Calculate the Payback Period: Use the simple formula: (Cost of New Appliance – Available Rebates) / Annual Energy Savings = Payback Period in Years. If the period is less than a third of the new appliance’s expected lifespan, it’s generally a good investment.
- Consider Age and Repair Costs: A common rule of thumb is to replace any appliance if a repair costs more than 50% of a new one, or if the unit is more than 75% of the way through its expected service life.
- Identify “Energy Vampires”: That old, secondary fridge in the garage or the constantly running dehumidifier in the basement can be major energy hogs. Use a plug-in energy monitor to measure their actual consumption; you’re often better off replacing them or getting rid of them entirely.
- Research Incentives: Always check for federal tax credits, state rebates, and utility company incentives for high-efficiency models, as these can significantly shorten the payback period.
Why “Time-of-Use” Tariffs Make Batteries Profitable Even Without Blackouts?
For most people, the appeal of a home battery like a Tesla Powerwall is backup power during a blackout. However, in many areas, the real financial benefit comes from optimizing energy costs under a “Time-of-Use” (TOU) electricity tariff. TOU rates charge more for electricity during peak demand hours (e.g., 4-9 PM) and less during off-peak hours (e.g., overnight). A home battery allows you to “time-shift” your energy consumption: you charge the battery overnight with cheap electricity and then run your home off the battery during the expensive peak hours, a strategy known as energy arbitrage.
This is where the building envelope becomes a crucial, and often overlooked, part of the equation. A well-insulated and air-sealed home acts as a thermal battery. Its ability to slow down heat loss (in winter) or heat gain (in summer) is a form of energy storage. By improving your home’s thermal performance, you dramatically increase the effectiveness of energy arbitrage. For example, you can pre-cool your home in the summer using cheap mid-day solar or off-peak grid power, then turn the AC off entirely during the expensive evening peak. A well-insulated house will stay comfortable for hours, “coasting” through the high-rate period without drawing power from the grid or the battery.
This synergy creates a powerful financial case. A better building envelope means you can get by with a smaller, less expensive battery system. It also means the battery’s stored energy can be used for more valuable tasks than just running the AC, such as charging an electric vehicle or running other appliances. The improved thermal envelope effectively provides “free” energy storage, allowing the physical battery to focus on maximizing savings from TOU rates. This integrated approach turns your entire home into an efficient, optimized energy system.
Key Takeaways
- Your house is an interconnected system; treat it like one by addressing the building envelope (insulation and air sealing) before anything else.
- Air sealing and adding attic insulation offer the highest return on investment and should always precede expensive upgrades like windows or new HVAC systems.
- Proper insulation not only saves money on heating and cooling but also prevents moisture issues and makes future technologies like heat pumps and solar panels more effective and affordable.
Solar Battery Storage vs. Grid Tie: Which Calculation Makes Sense for Suburban Homes?
As solar panels become more common, homeowners face a key decision: install a simple grid-tie system or add battery storage? A grid-tie system sends excess solar power back to the grid for credit (net metering), while a battery system stores that excess power for later use. The upfront cost of adding a battery is significant, so the calculation depends heavily on your goals and utility policies. However, this entire calculation is flawed if it ignores the most important variable: your home’s energy consumption.
This is the ultimate payoff for adopting an “envelope-first” retrofitting strategy. By systematically reducing your home’s energy demand through insulation and air sealing, you fundamentally change the math of going solar. A house that requires less energy for heating, cooling, and lighting needs a smaller, less expensive solar panel array to meet its needs. This principle is perfectly articulated by a leading expert in home construction.
Every dollar spent on insulation and air sealing reduces the required size—and cost—of the solar and battery system by two or three dollars.
– Tom Silva, This Old House
This 2-3x multiplier is the cornerstone of a smart energy investment. Before getting quotes for a 10 kW solar system, you should first invest in the upgrades that will reduce your need to a 6 kW system. The savings from the smaller solar and battery installation can often pay for the entire envelope retrofit. The table below illustrates the cost differences, which become even more pronounced when you factor in a reduced system size due to efficiency upgrades.
| Configuration | Grid-Tie Only | Grid-Tie + Battery |
|---|---|---|
| Initial Cost | $10,000-$20,000 | $20,000-$35,000 |
| Energy Independence | Dependent on grid | Backup power available |
| Net Metering Benefits | Full credit for excess | Store excess locally |
| Time-of-Use Optimization | Limited | Full optimization |
| Payback Period | 5-8 years | 8-12 years |
Now that you understand the engineer’s approach to systematically reducing heat loss, the next logical step is to perform a diagnostic audit of your own home’s building envelope to identify your top priorities for a warmer and more affordable winter.